การติดตั้ง Email บนเครื่อง Mac แบบ IMAP
การติดตั้ง Email บนเครื่อง Mac แบบ IMAP / How to set your email on Mac (IMAP)
ท่านสามารถติดตั้งติดตั้ง Email บนเครื่อง Mac แบบ IMAP โดยมีรายละเอียดดังนี้
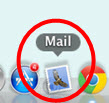
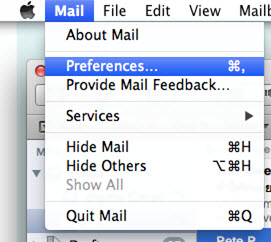
- เลือกที่ icon Mail เพื่อเปิด Email
2. เลือกที่ Mail - > Preferences
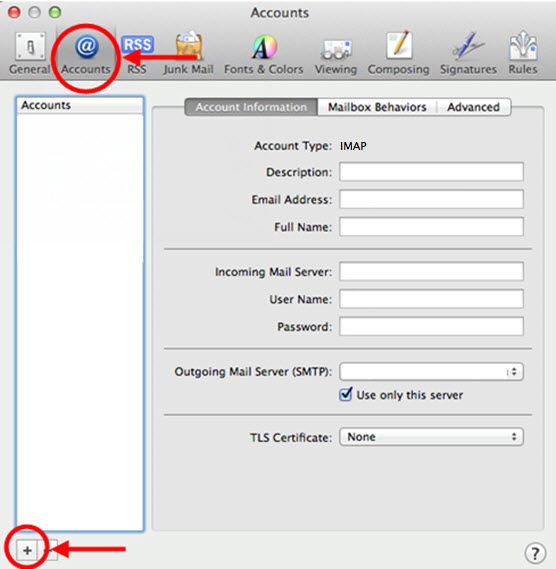
3. เลือกเมนู Accounts -> เลือกเครื่องหมายบวก (+) เพื่อเพิ่มบัญชี
Choose "Accounts" and Click "+" sign for adding accounts.
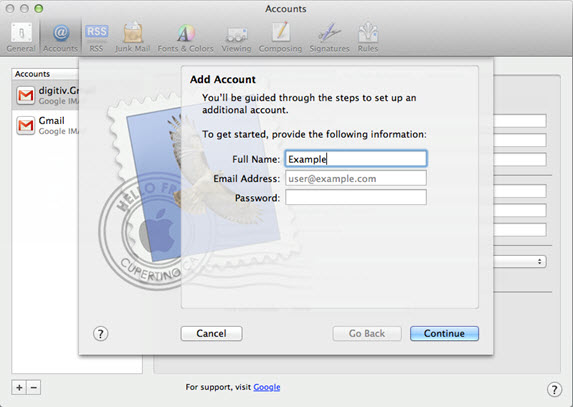
4. กรอกข้อมูลต่างๆ และกดปุ่ม Continue ซึ่งมีรายละเอียดดังนี้
Type the information and go to "Continue", so you can type your name, email address and password. Then, click "Continue" button.
- Full name คือ ชื่อที่ต้องการให้บุคคลอื่นเห็น เมื่อส่งอีเมล์ เช่น Mr. Somchai
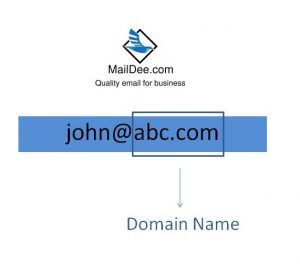
- Email Address คือ ที่อยู่ Email ที่ต้องการเพิ่มหรือติดตั้ง เช่น [email protected]
- Password คือ รหัสผ่าน
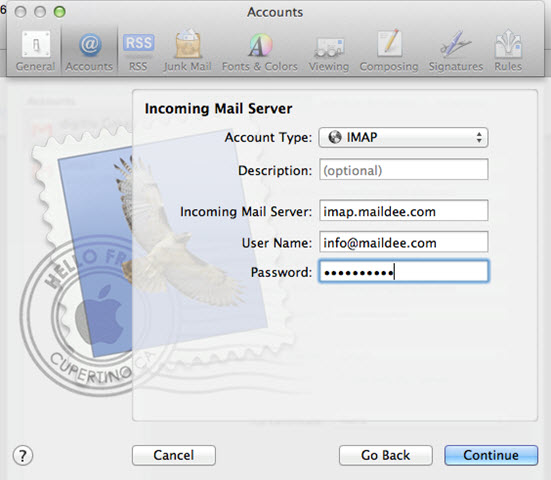
- กรอกข้อมูลต่างๆ ดังต่อไปนี้ -> จากนั้นกดปุ่ม Continue
Type this information like this photo in the blanks.
- Account Type เลือกเป็น IMAP
- Description คือ คำอธิบาย
- Incoming Mail Server ใส่เป็น IMAP.domainname.com
- User Name คือ ชื่อผู้ใช้ที่ต้องการเพิ่ม
- Password คือรหัสผ่าน
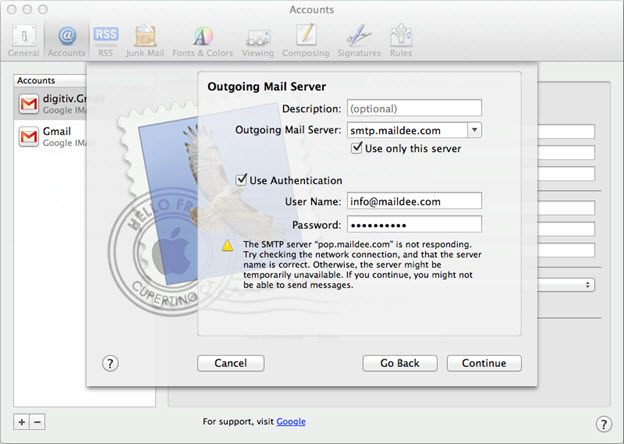
- กรอกข้อมูลต่างๆ ดังต่อไปนี้ ในส่วนของ Outgoing Mail Server -> จากนั้นกดปุ่ม Continue
Type this information like this photo in the blanks.
- Description คือ คำอธิบาย
- Outgoing Mail Server ใส่เป็น SMTP.domianname.com
- เลือก Use only this server คือการส่งออกโดยการใช้เซิร์ฟเวอร์นี้เท่านั้น
- เลือก Use Authentication ใส่ชื่อผู้ใช้และรหัสผ่าน (ต้องตรงกับ incoming Mail Server)
7. เมื่อกดปุ่ม Continue ในหน้า outgoing Mail Server จะปรากฏหน้าต่าง Account Summary ซึ่งเป็นส่วนสรุปข้อมูลต่างๆ ที่ได้กรอกไปข้างต้น จากนั้นเลือก Take account online และกดปุ่ม Continue
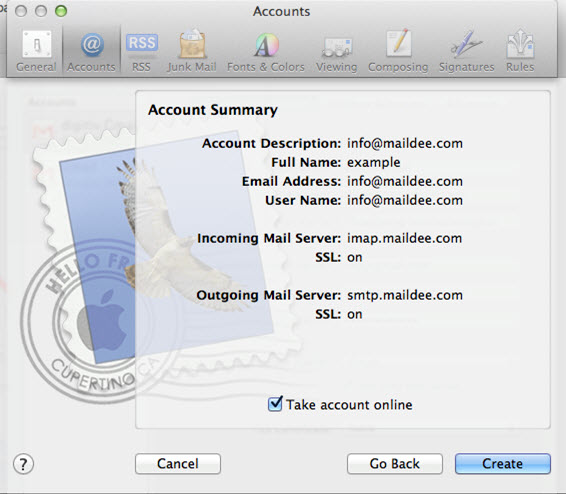
After click "Continue", it will show "Account Summary" window, Tick "Take account online" and click "Create"
Finally, your email is ready to use.